How to plan an accessible trip: what experienced travelers check first
 By Leo Morgan
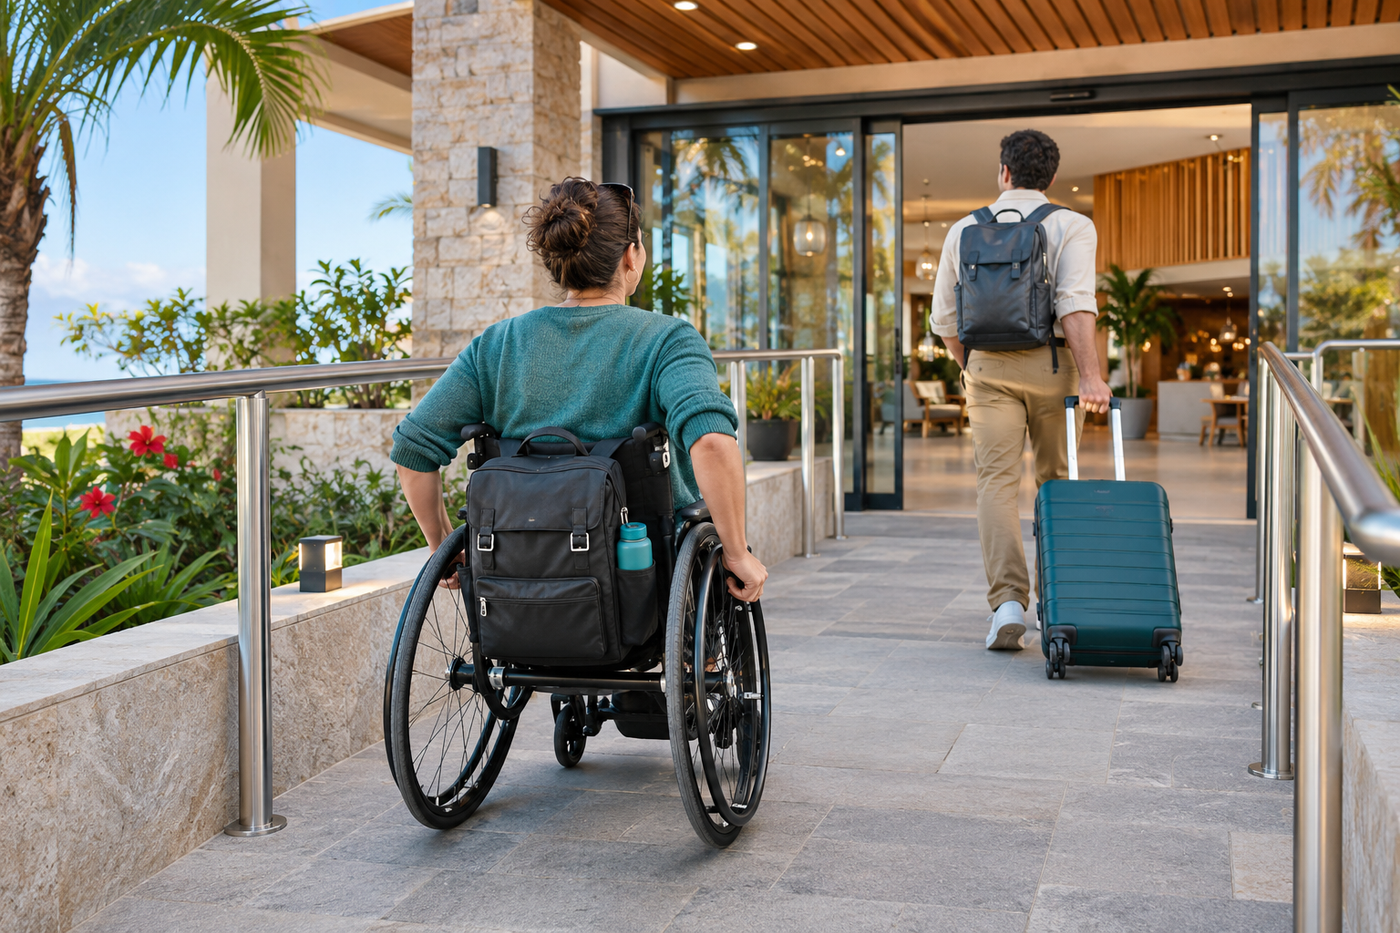
Accessible travel planning starts with specific questions, not assumptions. Check the route, room, transport, attractions, and backup options so the trip works in real conditions.
Define what accessible means for your trip
Accessibility is personal and specific. One traveler may need step-free routes, another may need a quiet room, a refrigerator for medication, accessible communication, or reliable seating. Start by writing down what you need to travel comfortably and safely, including what is essential and what would simply make the day easier.
Use concrete language when you ask questions. “Accessible room” can mean different things to different properties, so ask about doorway width, bathroom layout, shower access, bed height, lifts, thresholds, and the route from the entrance. A short checklist gives you something to confirm rather than a vague promise.
Separate needs from preferences, but do not apologize for either. A preference for a quieter room or a nearby toilet may be the detail that makes a full day possible. Include how far you can comfortably walk, how long you can stand, and what kind of rest breaks work best.

Your trip deserves fewer tabs.
Start planning your tripCheck the hotel beyond the room label
Ask for photographs or measurements when a detail matters. Confirm the path from the street or parking area, the entrance threshold, lift dimensions, corridor turns, and whether the accessible room is actually available for your dates. If you use a wheelchair or mobility aid, ask whether the bed, bathroom, and turning space suit your equipment.
Also check practical comfort: air conditioning controls, lighting, noise, breakfast access, and a place to store equipment. Save the name of the staff member who confirms the details and repeat the most important points when you arrive. A written confirmation is useful if the property changes rooms at check-in.
Trace transport from door to door
Do not judge a transport option by the vehicle alone. The full route includes the pavement, station entrance, platform, transfer, boarding process, and final walk. Check whether lifts are available at every interchange and whether there is a realistic alternative when one is out of service.
For flights, trains, and long-distance buses, request assistance within the provider’s stated time frame and keep the confirmation accessible. Ask what happens if you need your own equipment at the gate or platform. For taxis and transfers, explain the space and loading requirements clearly instead of assuming a standard car will work.
Ask attractions useful questions
Attraction websites often say a place is accessible without describing the whole visitor journey. Check the entrance, ticket desk, toilets, seating, slopes, surfaces, lifts, crowd patterns, and whether a companion can enter under the same arrangement. Museums, parks, and historic sites may have a step-free route that differs from the main entrance.
Ask about temporary closures, construction, and the possibility of resting during a long visit. If you need captions, sign language, sensory information, or a quiet time slot, request it early. Save the response and bring it with you, but remain ready for conditions on the day to differ.
Prepare medical and personal needs
Pack medication in hand luggage where possible, keep it in original packaging, and carry a list of names, doses, and relevant contacts. Check destination rules for controlled medication well before departure. If a device needs charging, bring the right adapters and a plan for power interruptions.
Consider heat, altitude, food access, rest, and the distance between services. Know how you would find a pharmacy, clinic, or emergency service, but do not let contingency planning become a reason to avoid the trip. Share only the medical information that a provider genuinely needs to support you.

Turn your travel ideas into a plan.
Start planning your tripMake your requirements easy to understand
Write a short explanation of your needs in the language and format most useful at your destination. Include what you can do independently, what assistance is required, and what should not be done. Specific instructions are kinder and safer than expecting staff to guess.
Use email for details that need a record, then call when a decision is time-sensitive. Confirm names, dates, and locations after every change. A companion can help advocate, but the traveler should remain central to the conversation whenever possible.
Build days with less friction
Group activities by area and plan one demanding transfer rather than several. Put the most important experience at the time of day when your energy is strongest, then add a nearby café, park, or hotel break. Look at slopes, pavement, weather exposure, and toilet access when you estimate how long a route will take.
Do not fill every hour. A flexible day is not a lesser trip; it protects the experiences that matter when a lift breaks, a queue grows, or your body needs rest. For an example of a more detailed planning structure, see the accessible travel checklist.
Keep backup routes ready
For each important journey, identify one alternative that does not depend on the same lift, station, or road. Download maps, save hotel and transport details offline, and keep the destination address in a format you can show a driver. If a route becomes impossible, switch early rather than spending energy forcing it.
Backups can be simple: a nearby attraction, a meal close to the hotel, or a taxi provider that knows your equipment. Ask locals or staff for help, but verify the route yourself when safety or access is important. Plans are strongest when they include permission to change.
Plan for equipment and luggage
Decide which mobility or support equipment is essential and whether a smaller travel aid would make transfers easier. Photograph equipment before departure and record model details, dimensions, and any removable parts. Use clear labels that do not expose unnecessary personal information.
Pack repair basics that you know how to use, plus contact details for a local supplier if one exists. Confirm airline or transport rules for batteries and charging. Keep essential items close during transfers rather than placing everything in checked luggage.
Confirm the details close to departure
Accessibility information can change after a booking is made. Reconfirm the room, assistance request, transfer, and any attraction reservation shortly before departure. Ask specifically about construction, lift outages, and whether the promised room is held for your arrival.
Put confirmations in one offline folder or printed packet. Include booking numbers, addresses, emergency contacts, and your short access summary. This reduces the need to search through many apps when you are tired or offline.
Keep the day flexible and dignified
Allow extra time without treating the traveler as a problem to be managed. Ask for help clearly, accept it when useful, and say when an approach is not working. Staff may be helpful but unfamiliar with a particular need, so explain the practical solution rather than hoping a generic assistance label will cover it.
Notice what is working as well as what is difficult. A good accessible itinerary creates choices, preserves energy, and lets everyone enjoy the destination instead of spending the whole day troubleshooting.
Turn your checks into a shared plan
Save the confirmed hotel details, transport steps, attraction notes, medical preparation, and backup routes in one itinerary. Mark the essentials clearly and leave optional ideas nearby. If you are traveling with others, make sure everyone knows the pace, rest points, and the plan if access changes.
Experienced travelers are not avoiding uncertainty. They are making it manageable. With specific questions and a route that can bend, accessible travel becomes a practical planning task rather than a series of last-minute guesses. Holihopper’s guide to organizing an itinerary can help you keep those details together.
Make departure day its own plan
Departure is often where several access needs meet at once, so give it a clear sequence. Confirm the pickup location, assistance time, luggage arrangement, medication, and a comfortable place to wait. Keep essential equipment and documents with you rather than assuming every handoff will be smooth.
Build a little margin without asking the traveler to wait for hours. A planned snack, seat, and quiet option can make the beginning of the trip calmer. If something changes, explain the requirement again and ask for the next practical step instead of accepting a vague promise.
The same approach works for the return journey. Save the hotel address, transfer details, and a simple explanation of your needs offline before you leave home. Good preparation does not remove every surprise, but it gives you more control when the route changes. That control is the real purpose of the checklist: more options, less panic, and a better chance to enjoy the journey with confidence and less last-minute stress, both today and on future trips.